Repairing my Ricoh GR II
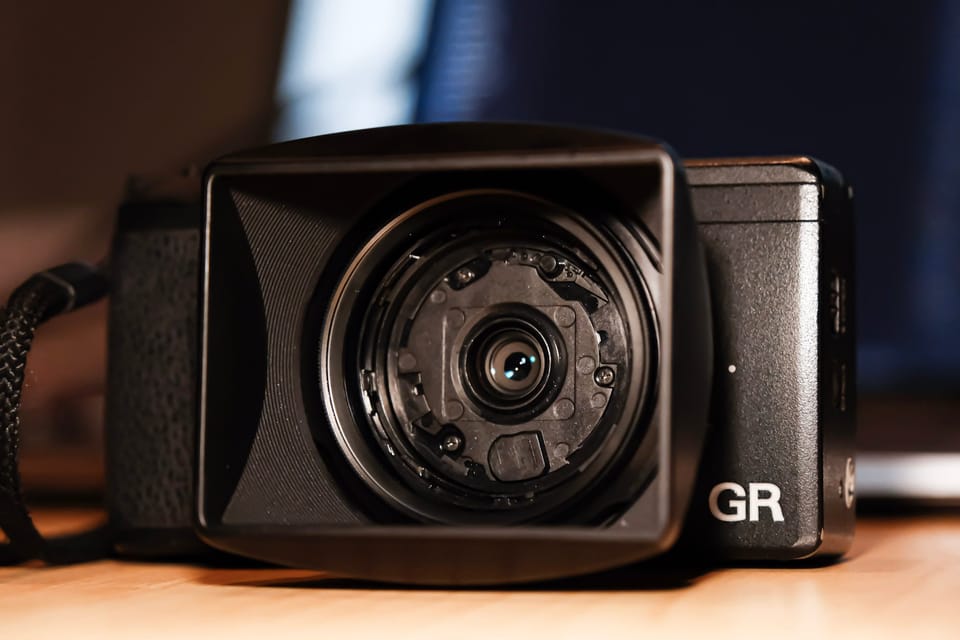
I do not try to find myself in what I “shoot,” but perhaps I want to see the position of the world I am in. - Daidō Moriyama (森山大道)
Indeed, the Ricoh GR II is a camera that does the best at helping me to capture the best moment of my daily life – and the world I have experienced – throughout the past six years. It has the most petite body compared to other competitive models (e.g., Sony RX100) while maintaining the best image resolution of its kind. It is undoubtedly the best APS-C camera out there on the market. Among all the upsides of this model, I specifically love the macro effect, as well as the unique “Daido” (high-contrast black and white) preset.
I bought my GR II in Hong Kong around 2016, and I’ve been bringing it with me as much as possible since then. In fact, I think I’ve used it for every possible ways. Street candid, architecture, landscape, portrait, macro, product… I’d recommend you buy one if you are new to and interested in film and digital photography, as well as want to bring it with you every day.
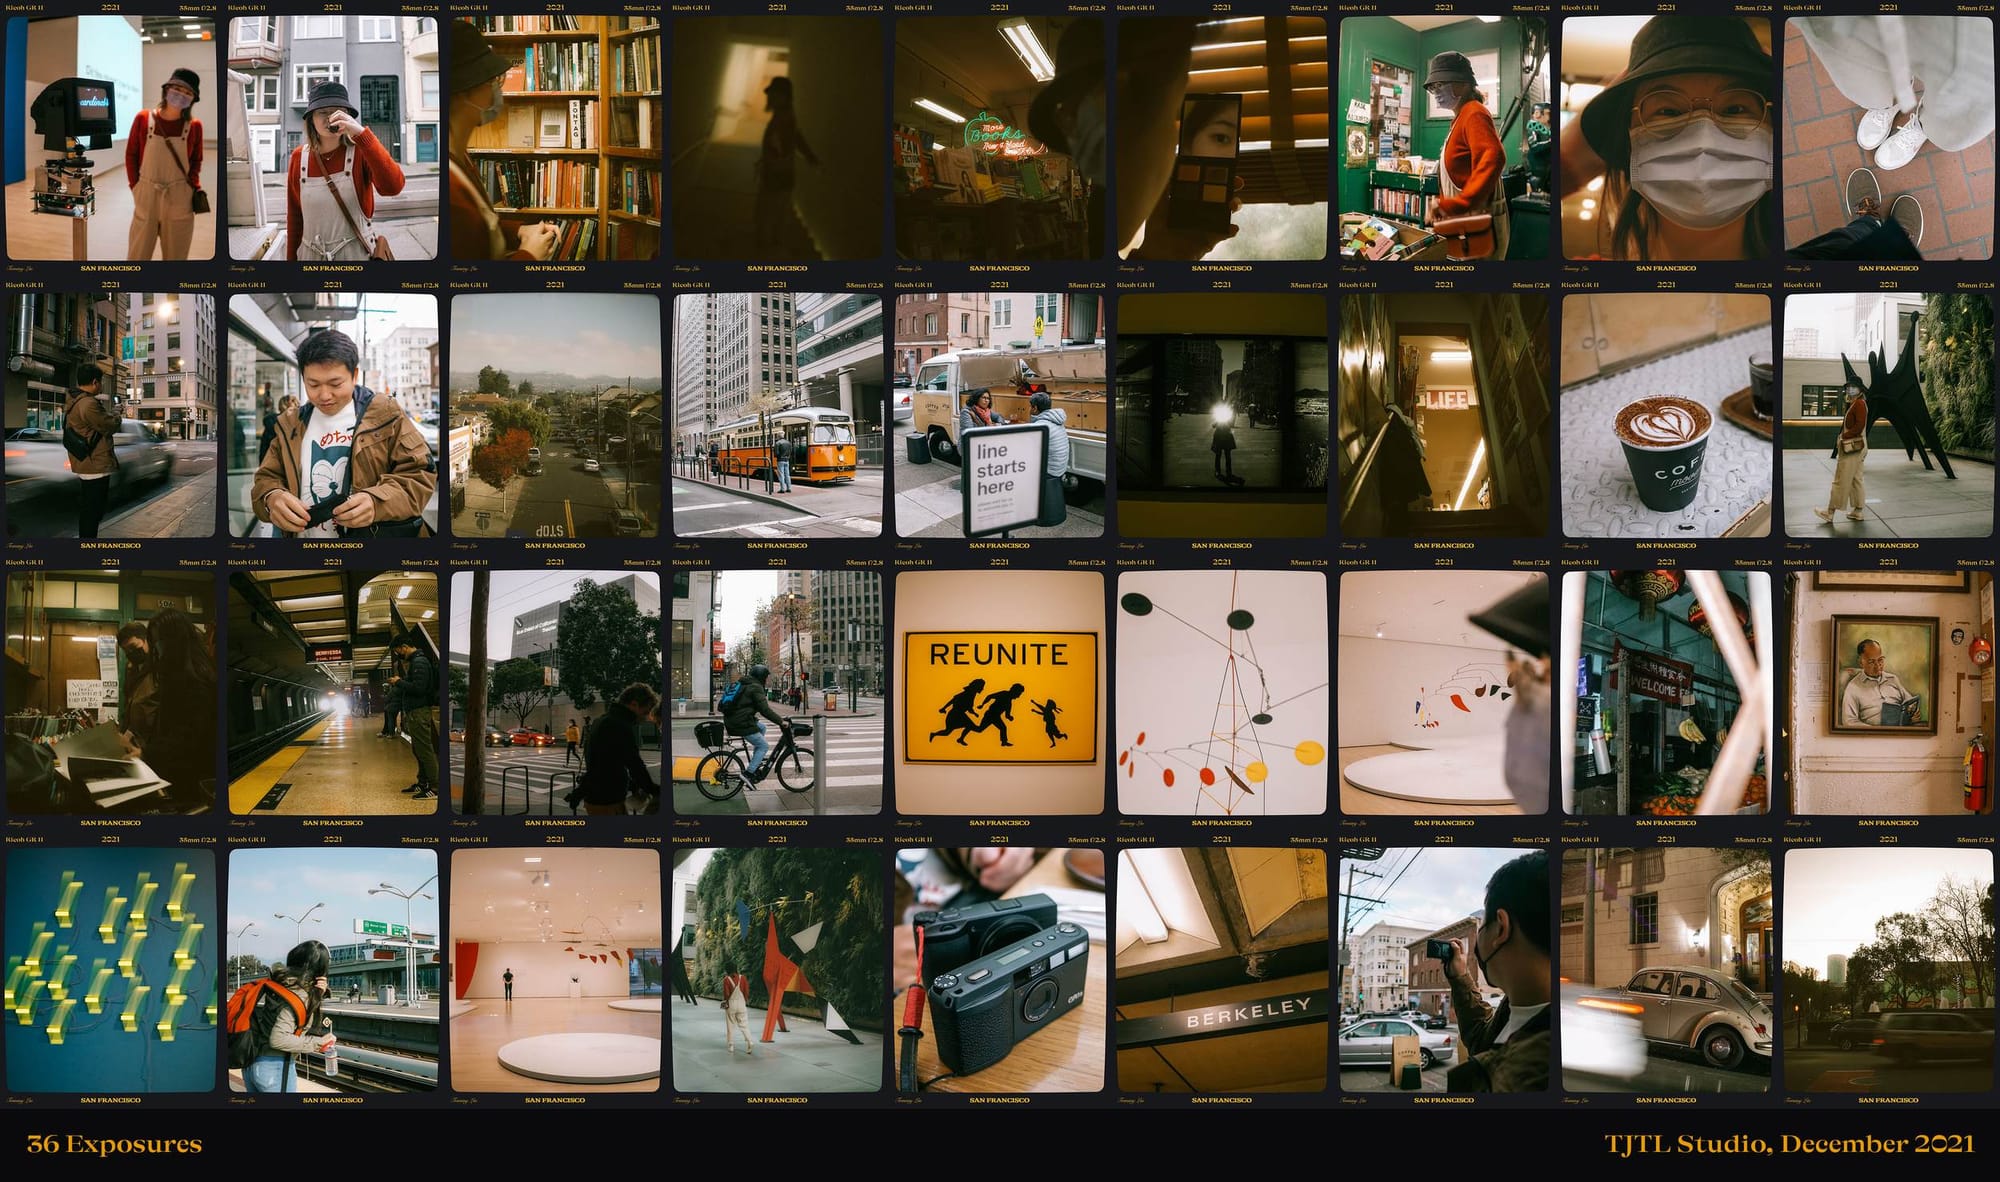
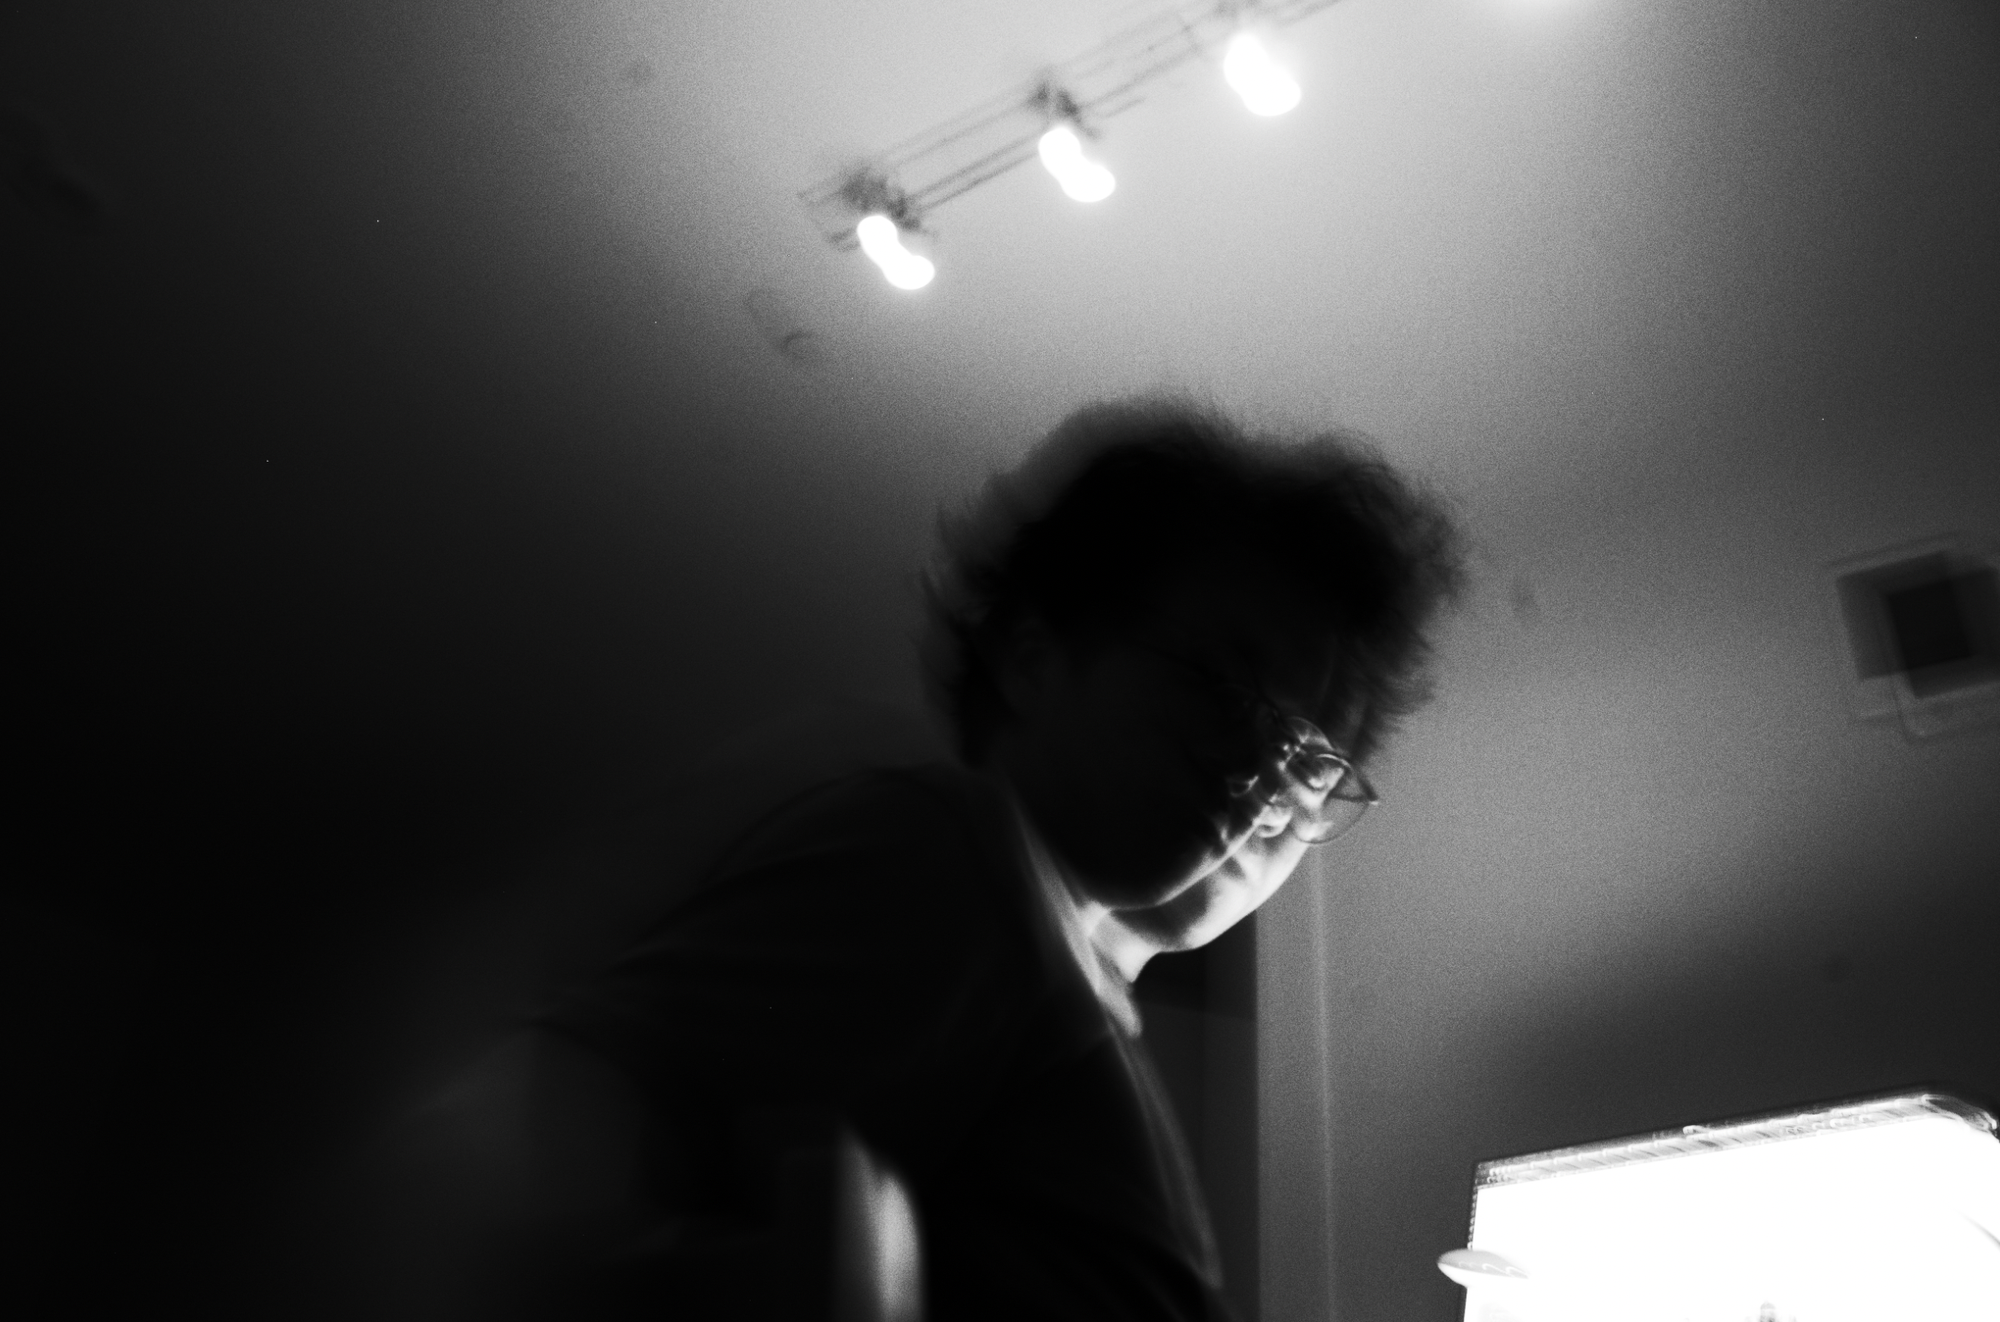
Here are some photos I took in the past few years:

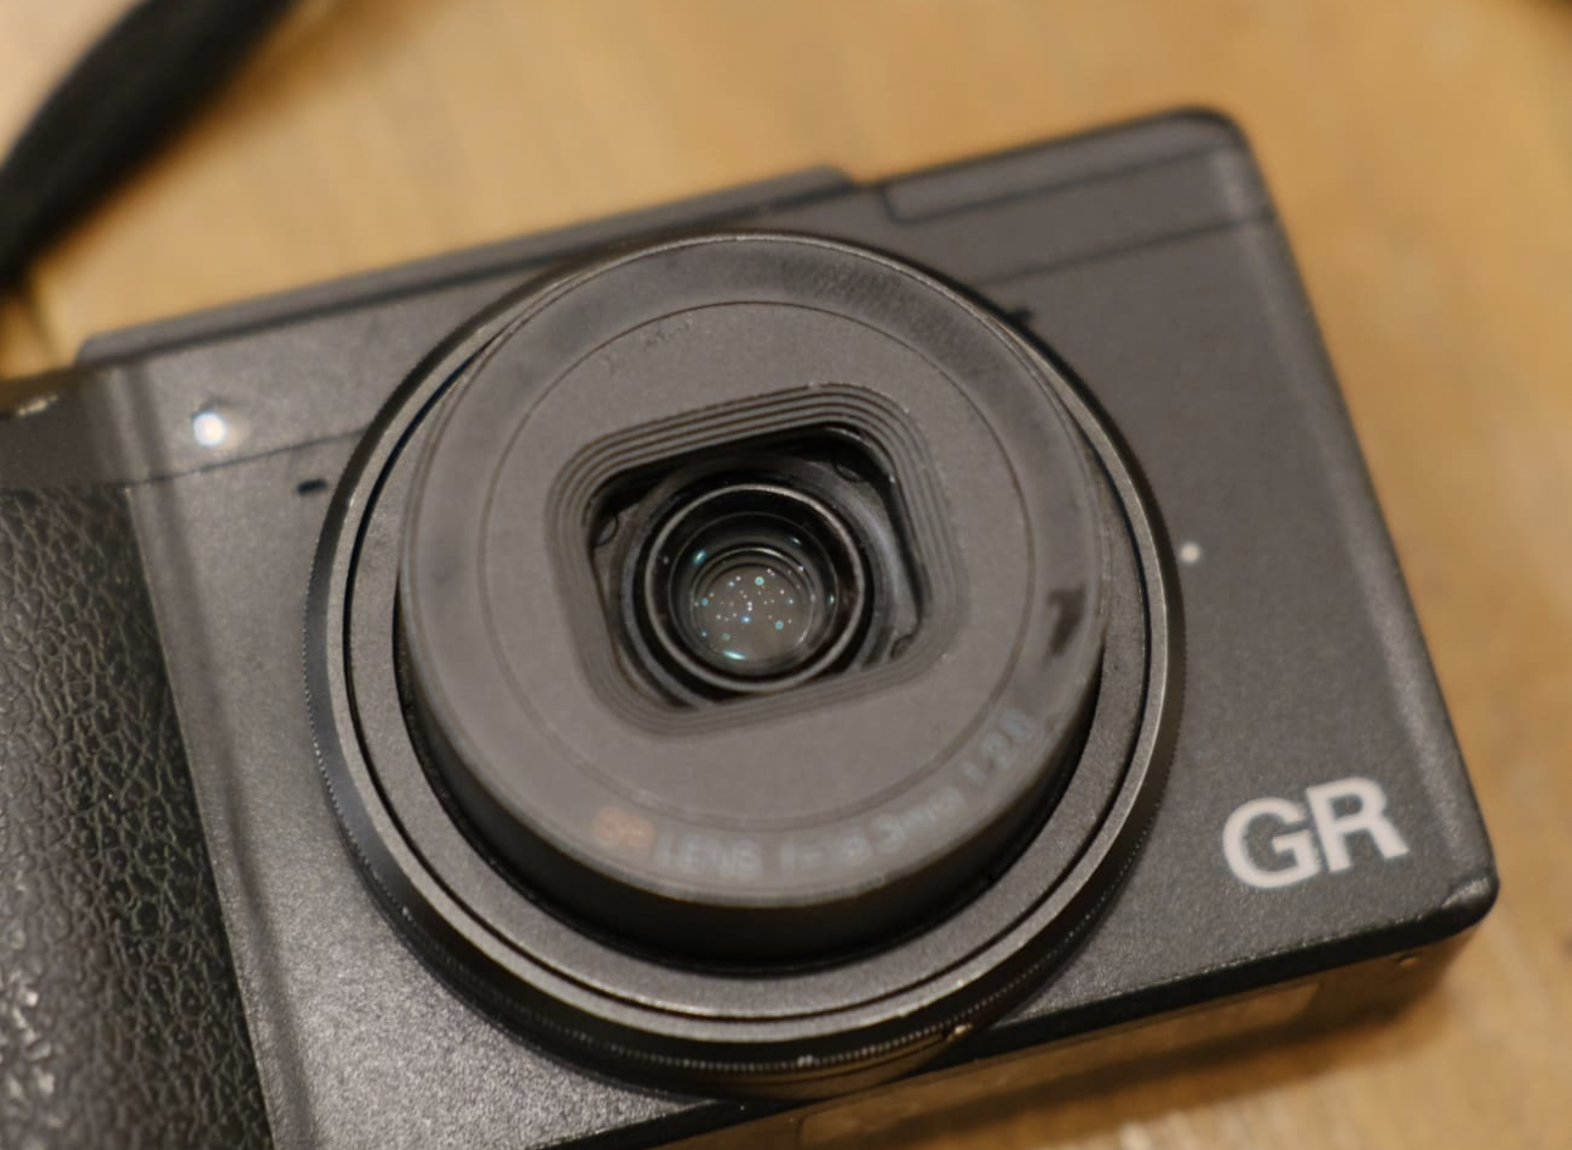
Now back to the topic. Last year around December, I noticed the shutter curtain didn’t open (see picture below) when I powered it on. But it functioned well after taking one photo, and the process usually took quite a long time (due to the all-black scene with the curtain, not opening). So I googled for some answers. Luckily, I shared the same issue that Michael from StreePhotoTip encountered – and probably every Ricoh GR II user around me has the same issue if they used it for a long time. Michael assumes that the issue is due to the long-term use of the camera. To be precise, the lens cable was broken after frequent stretching when the main board controls the lens to push it out and in.
Back in Shenzhen, I could easily find a place to repair it without hassles. On Taobao.com (the Chinese equivalent of eBay), there are tons of repairing services I could contact to fix my GR. I know it because the last time the LCD screen was broken, it cost me roughly 200 RMB (around USD 30) to replace the parts, and worked perfectly. So yeah, I missed the good old days when I could visit Huaqiangbei, find electronic parts easily, and get them at the lowest price (and with decent quality) possible.
While I was feeling nostalgic, I knew the repair price here in the States must be pricey. After I googled the camera repairing service for a while, some of them either have bad reviews or the costs are higher than expected. However, Ricoh US provides an official repairing service but sending the camera to the repairing site costs around USD 250. I’m not going to waste that much money on an old camera.
Eventually, I went to AliExpress, an international version of Taobao.com, and found a store that sells the flex PCB I wanted to replace manually. Here is what it looks like:
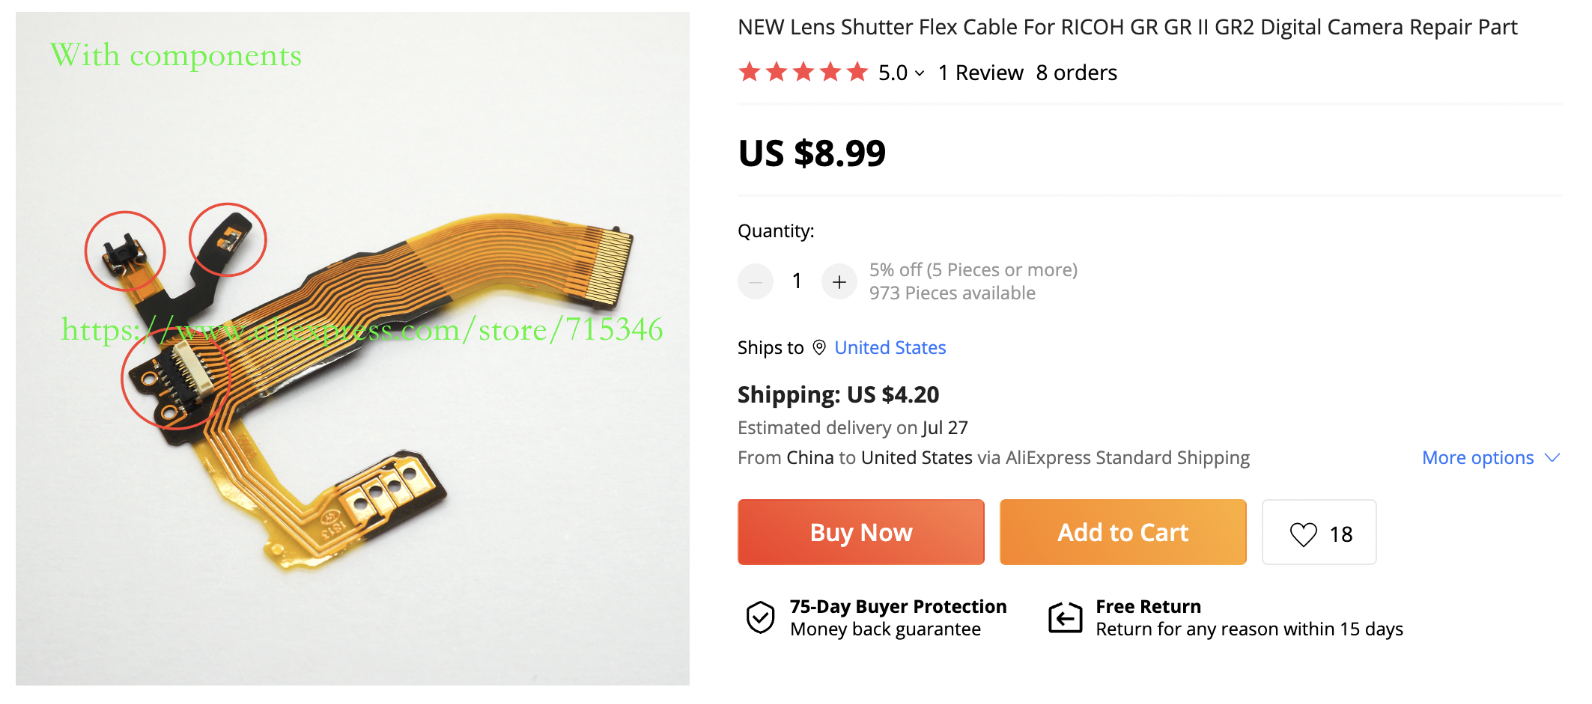
The most satisfying thing is that it only costs me 14 dollars, including the shipping fee. The shipping period isn’t that long; it arrives at my door after about two weeks.
Tearing down the camera
Then, it was time to tear it apart. Here are two videos I found on YouTube. I truly appreciate the author’s efforts in making these content public.
- Ricoh GR (II) Disassembly: Instructions on how to dissemble the camera.
- Ricoh GR (II) Lens Housing Disassembly: Detailed instructions on dissembling the lens module.
It was pretty easy at first. The level of modularization of the camera’s mechanical structure exceeds my expectation – I could easily open the case with the standard screwdrivers and tweezers.

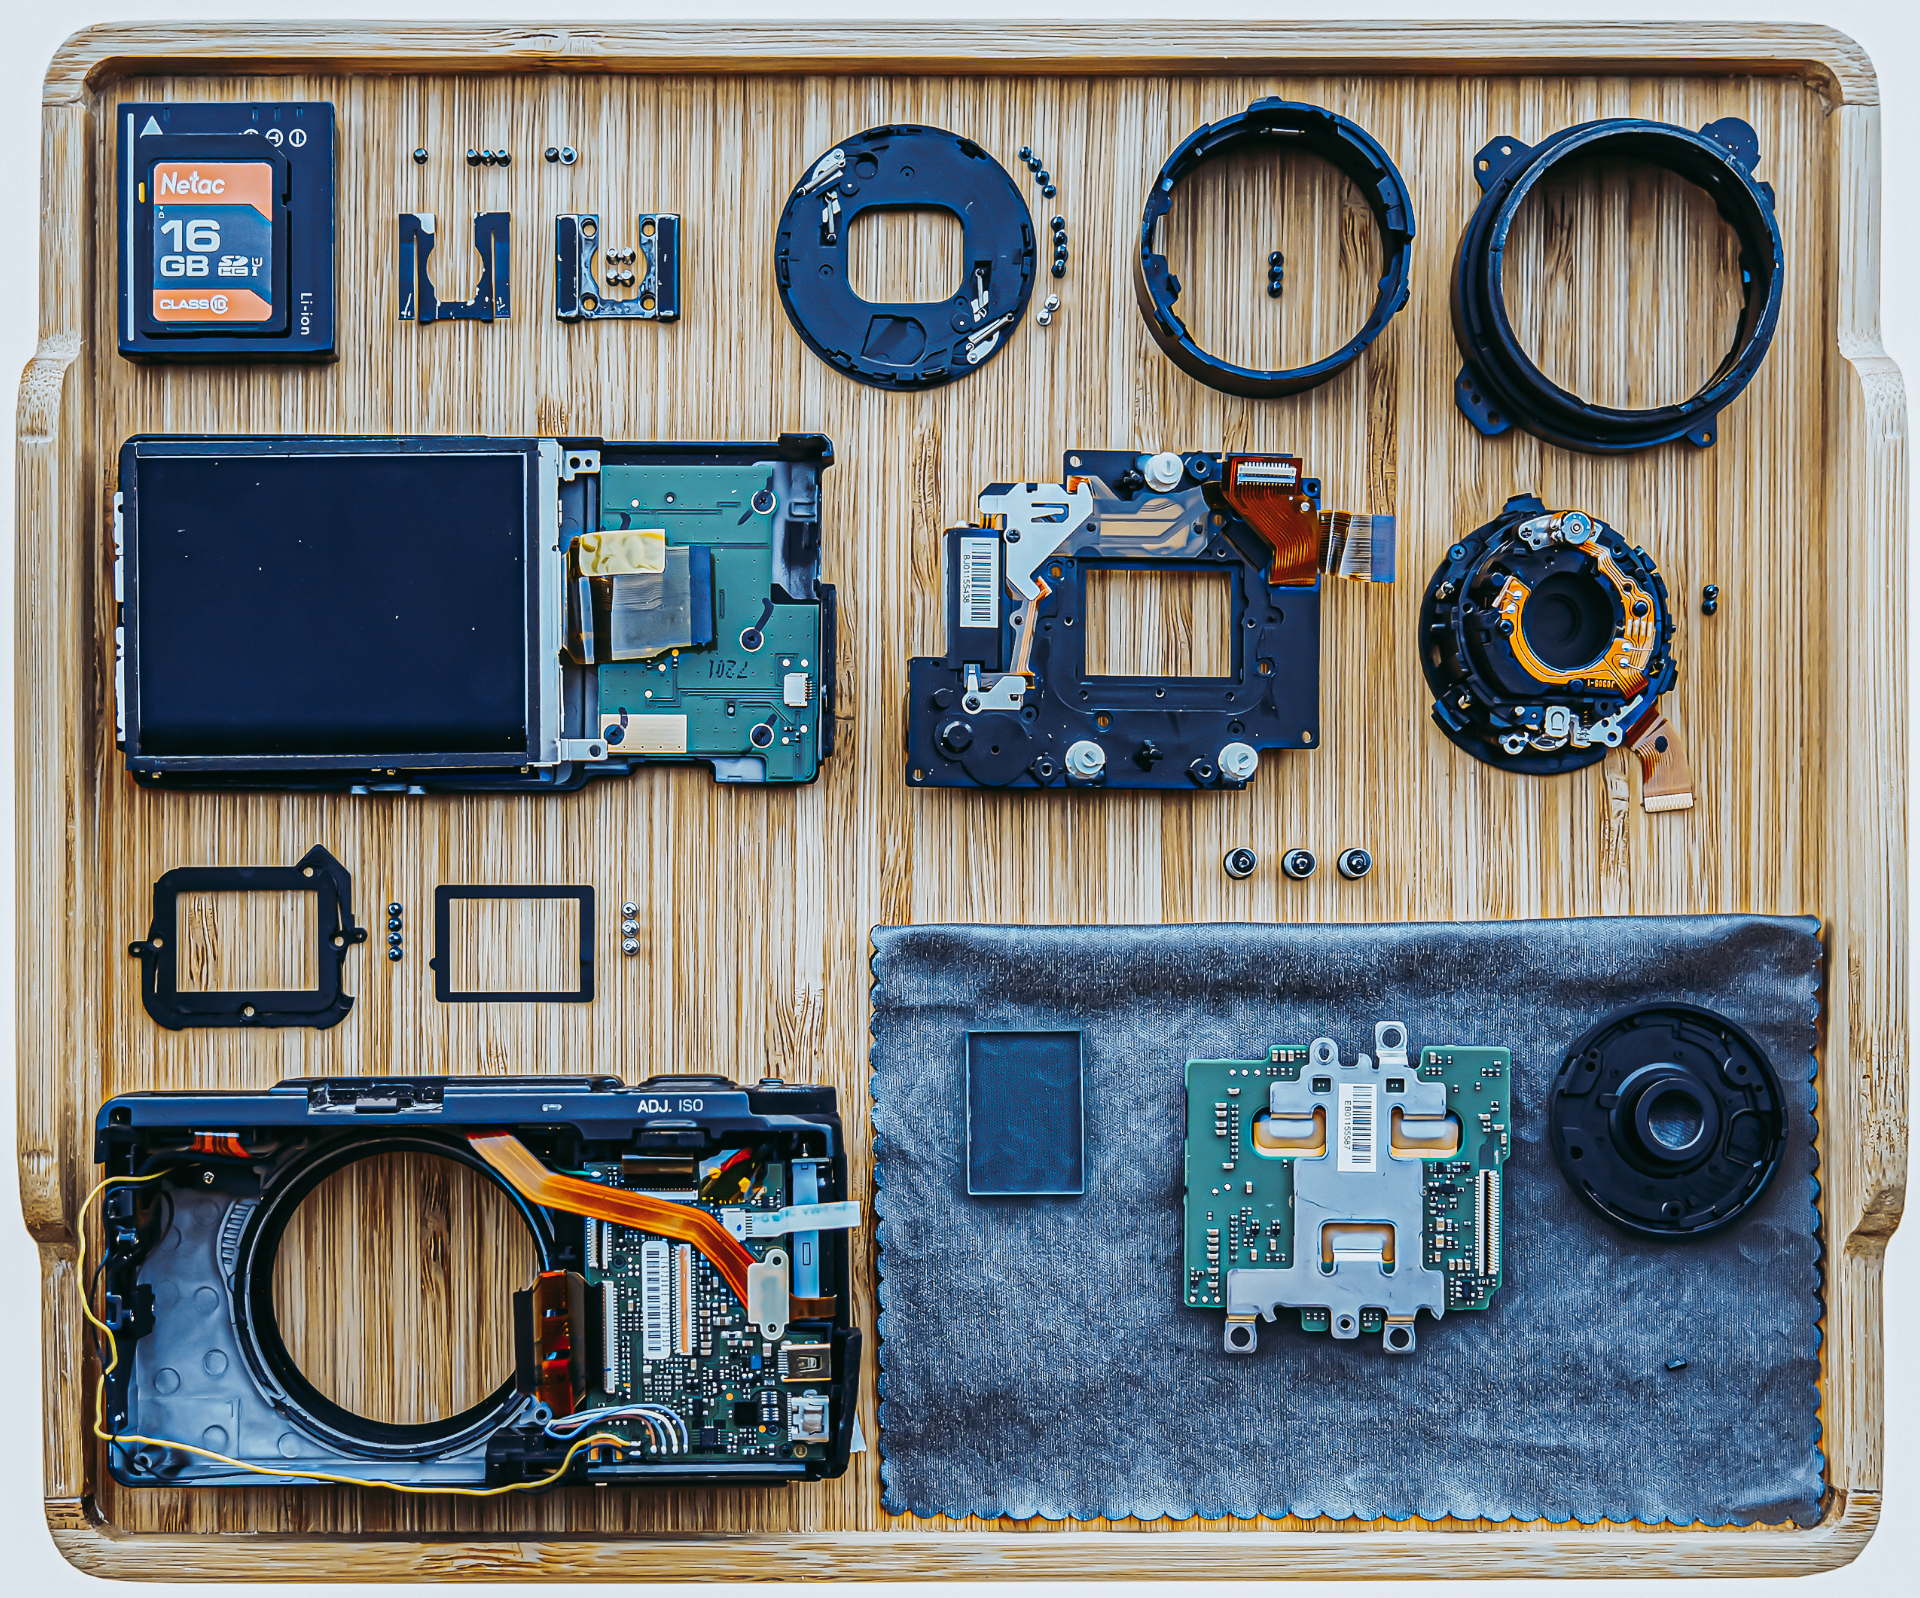
And here’s what it looks like when I tore all the necessary parts apart:
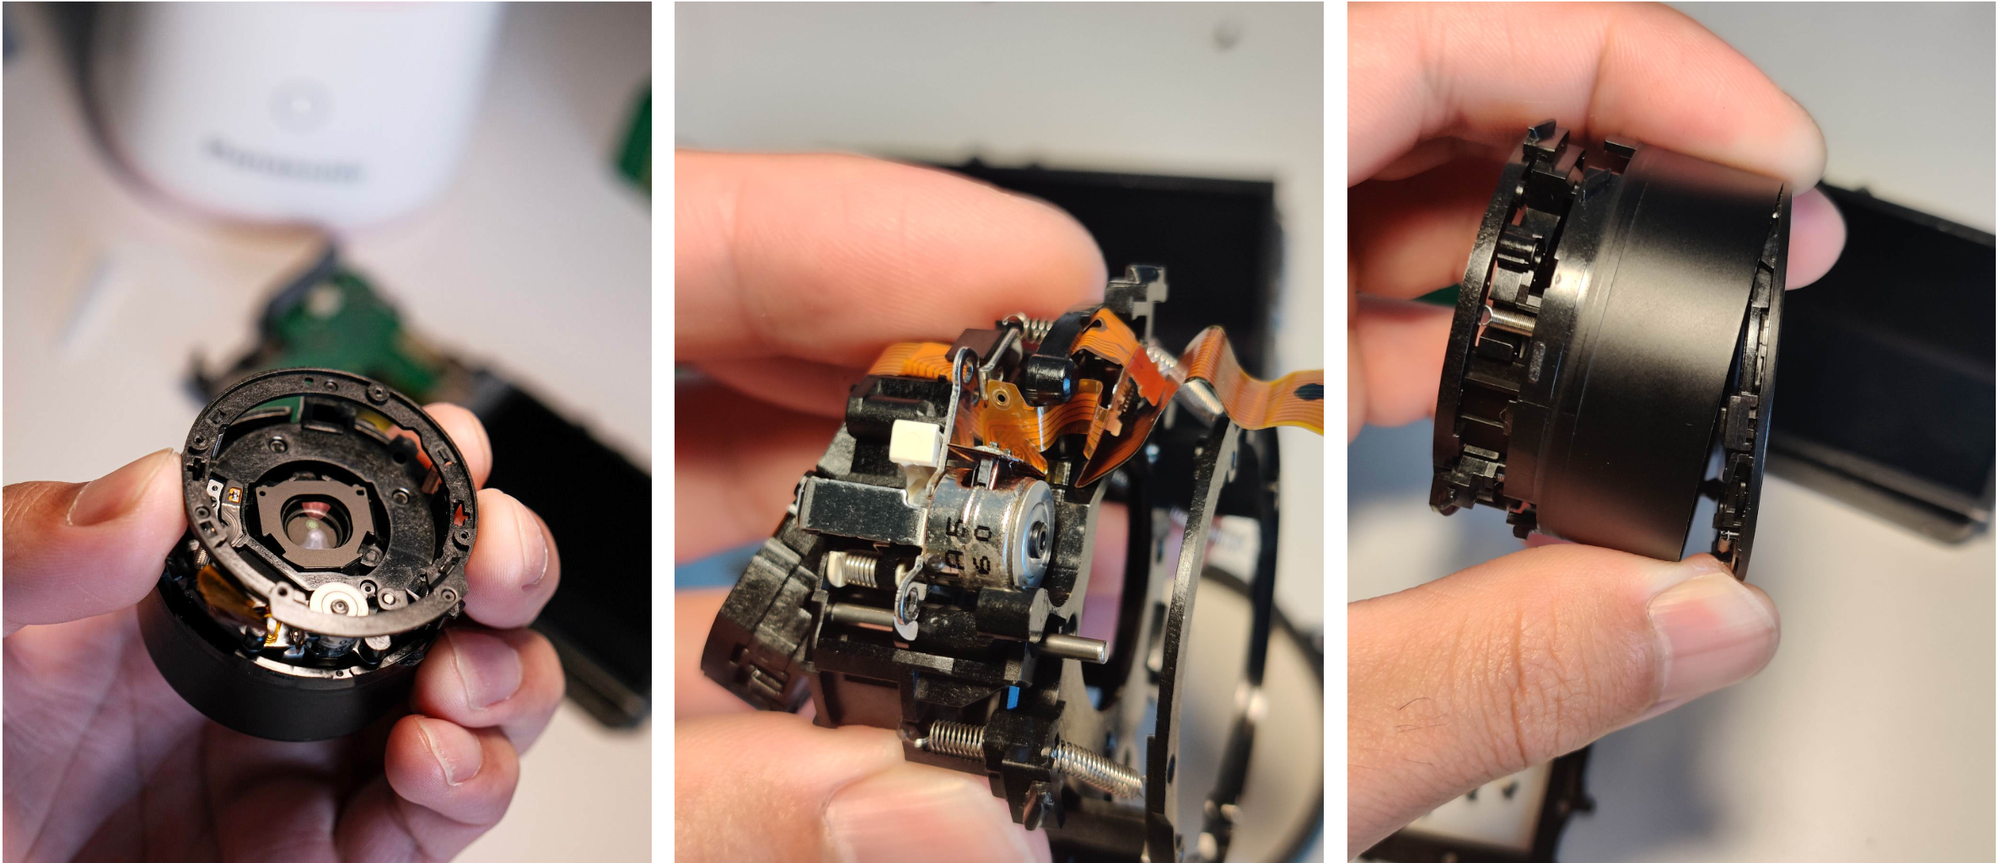
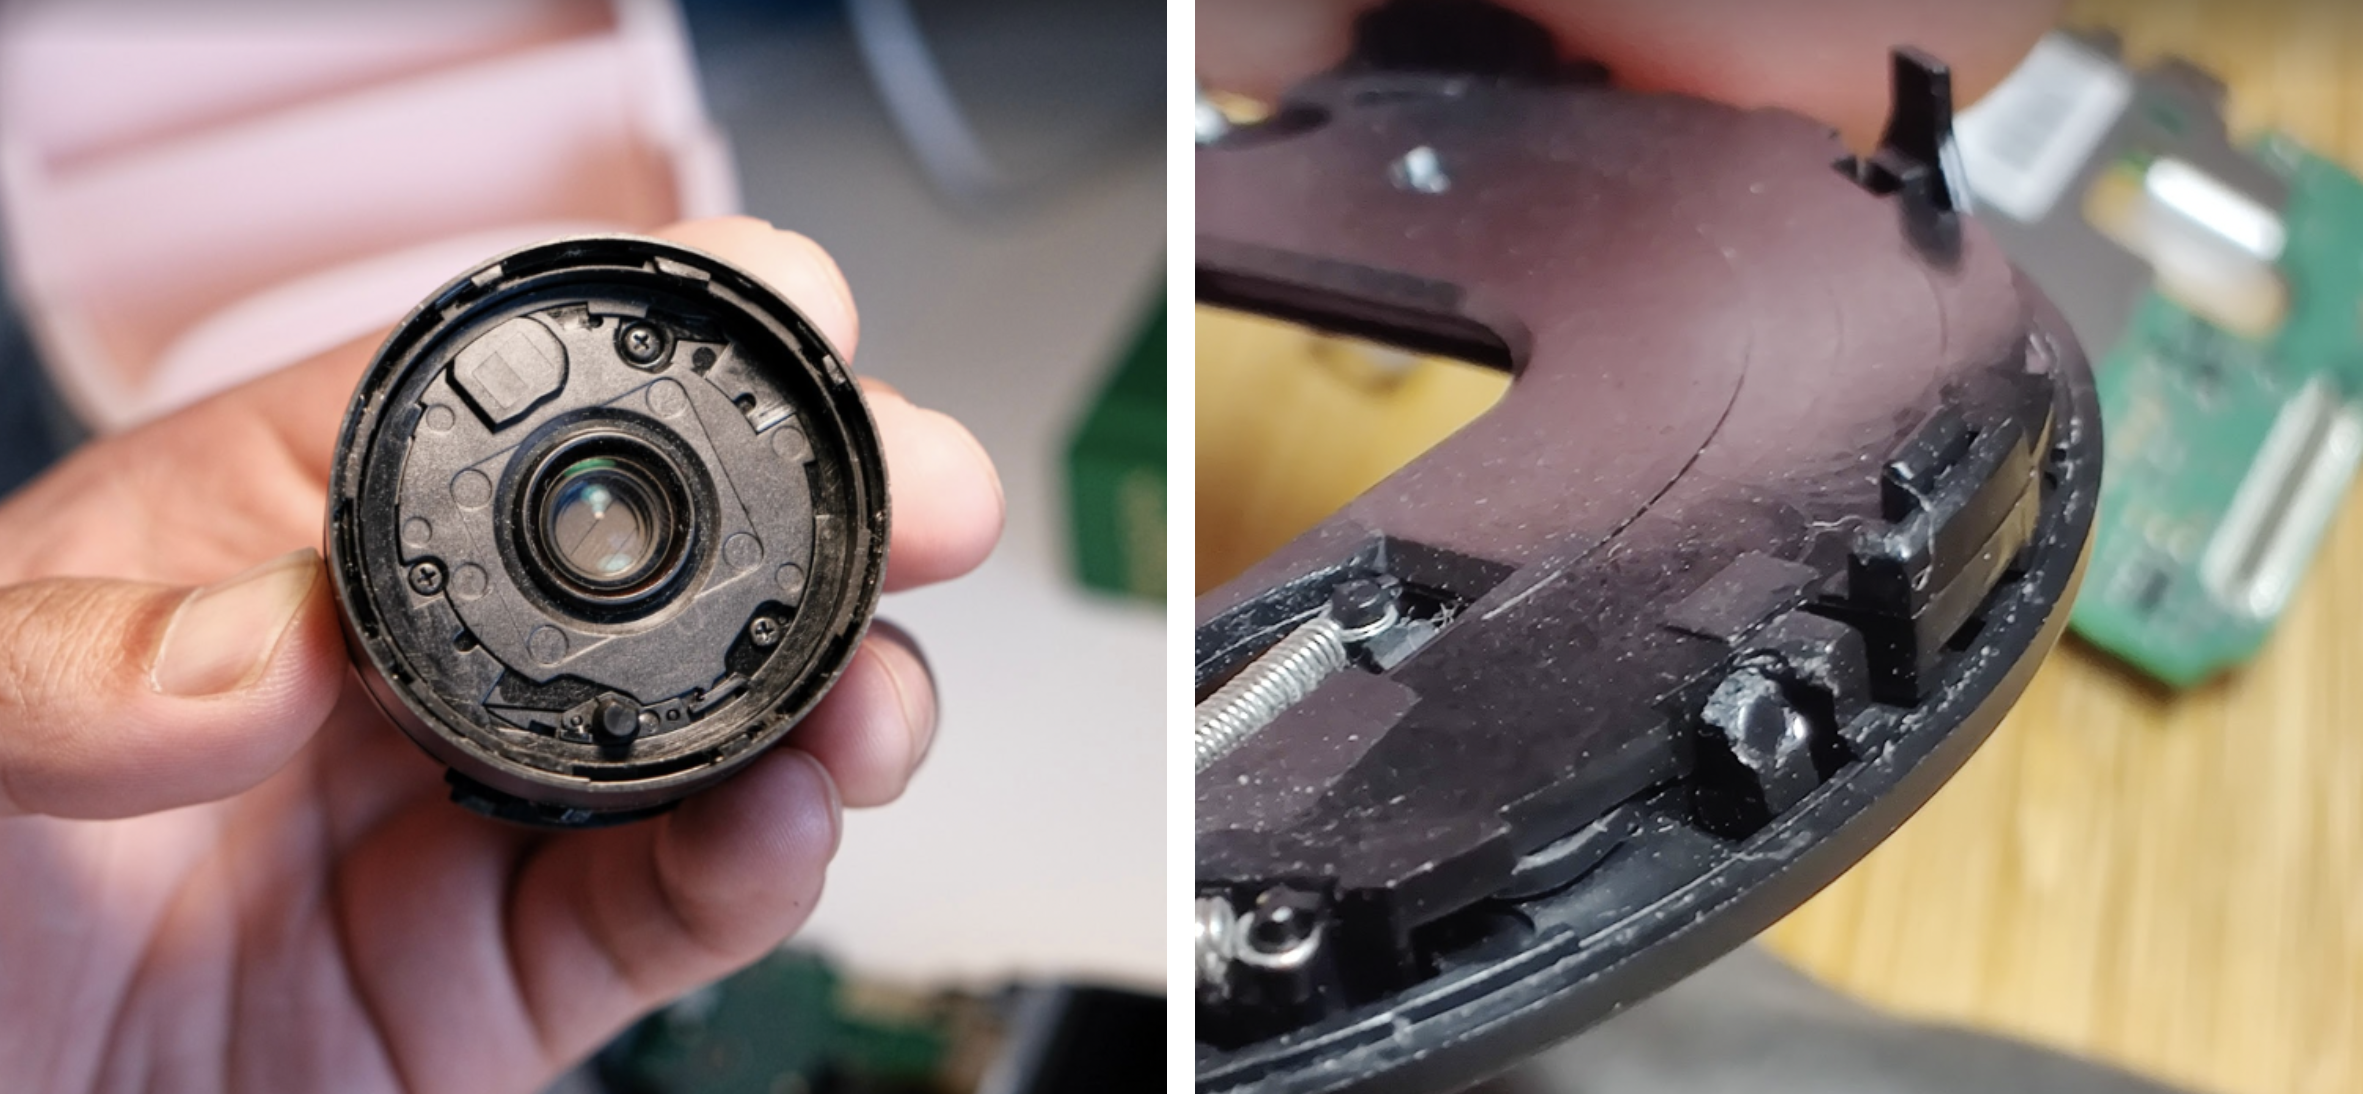
The hardest part is dissembling the lens module. I struggled with the process for a whole night – especially the parts where the stepper motor controls the curtain.
Now I need to pull off the old and broken PCB and replace it with the new one:
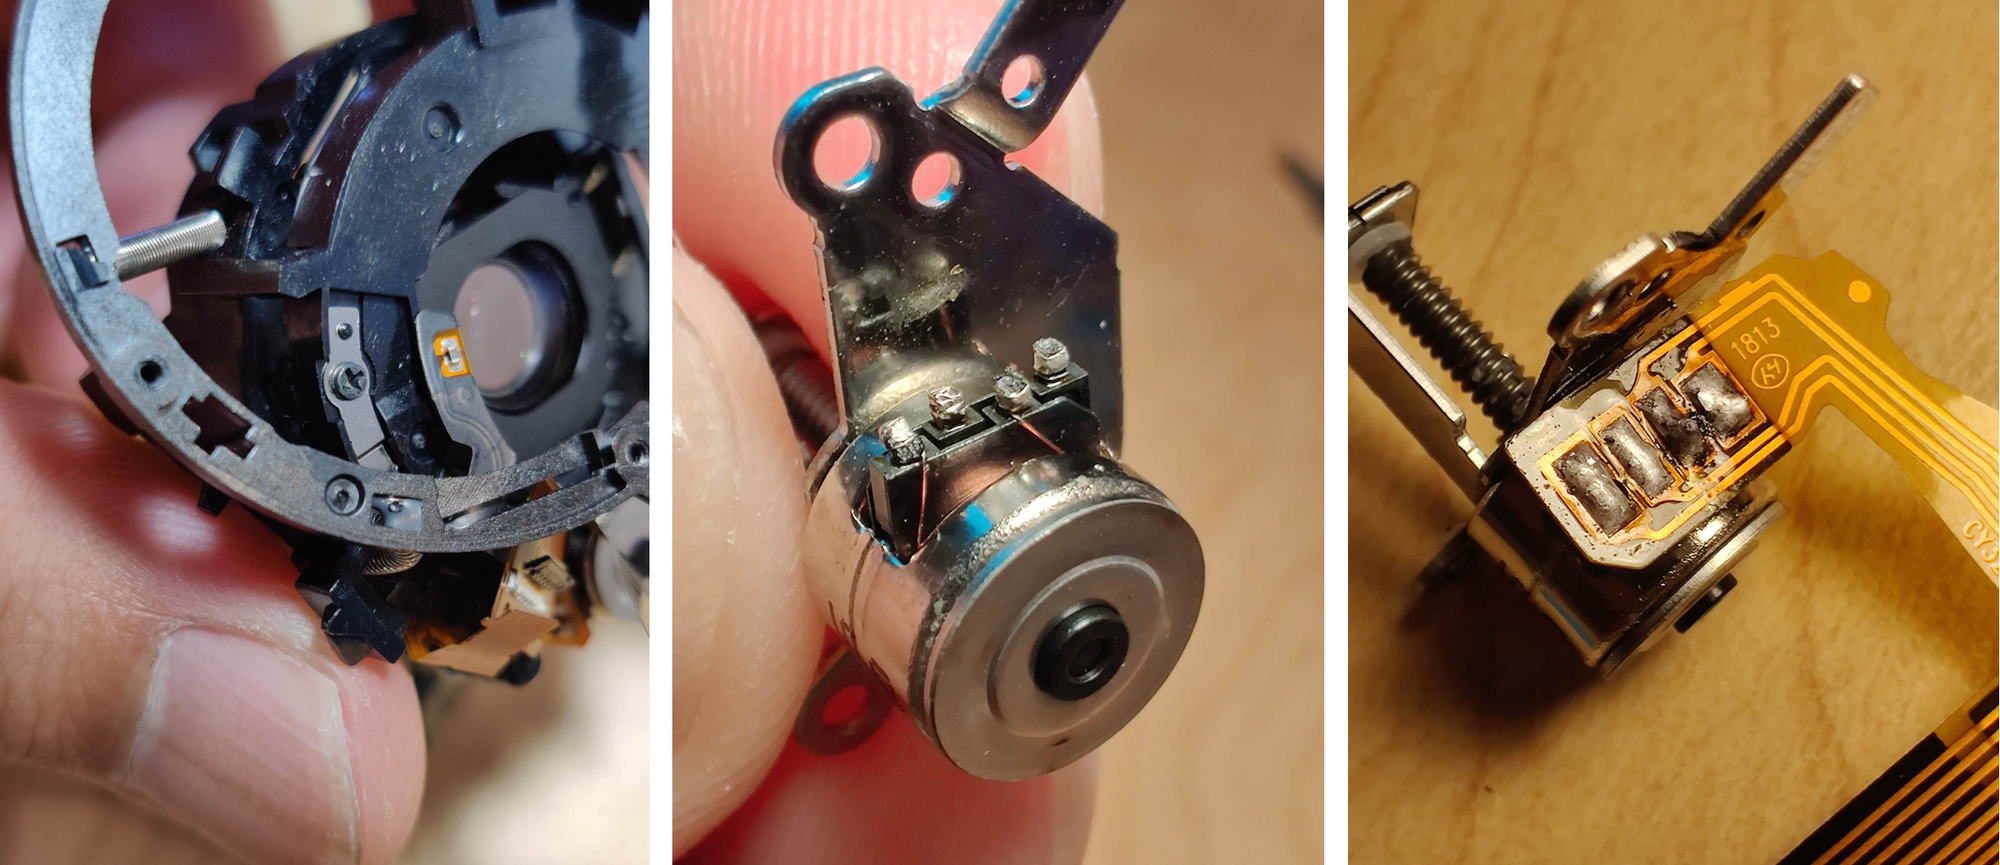
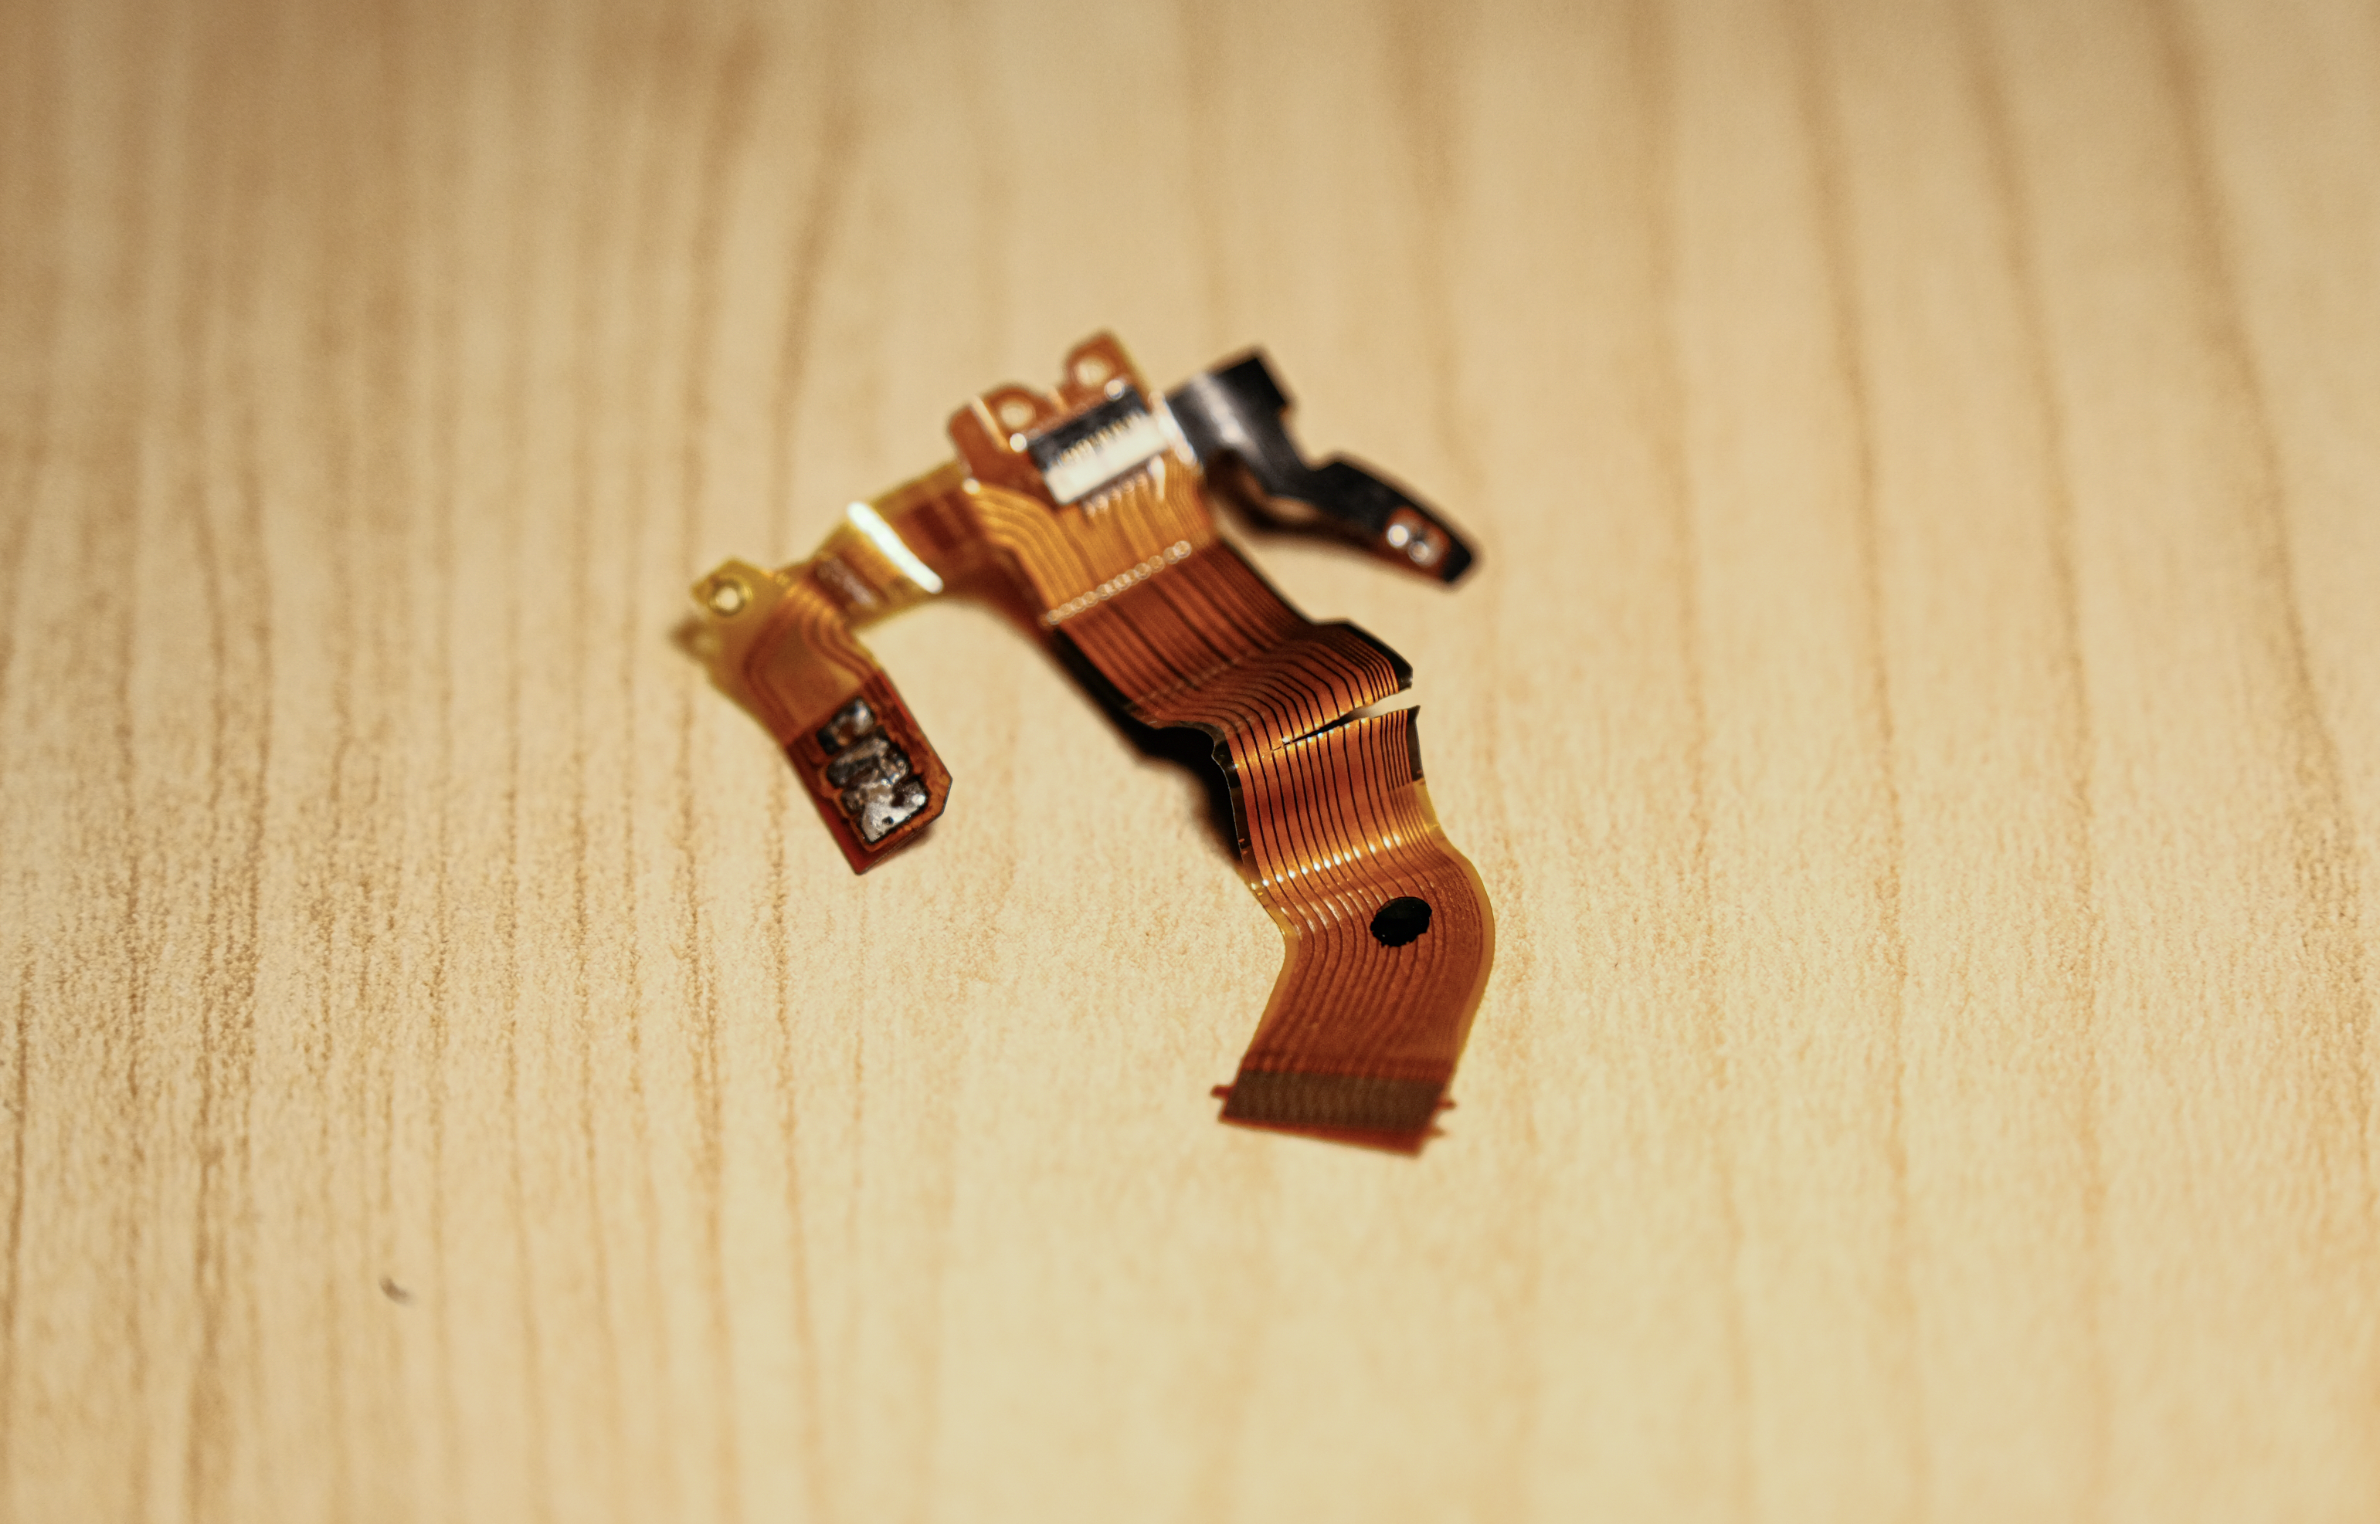
Above is the old flex PCB. As you can see, the apparent fracture in the middle of the flex PCB is the problem.
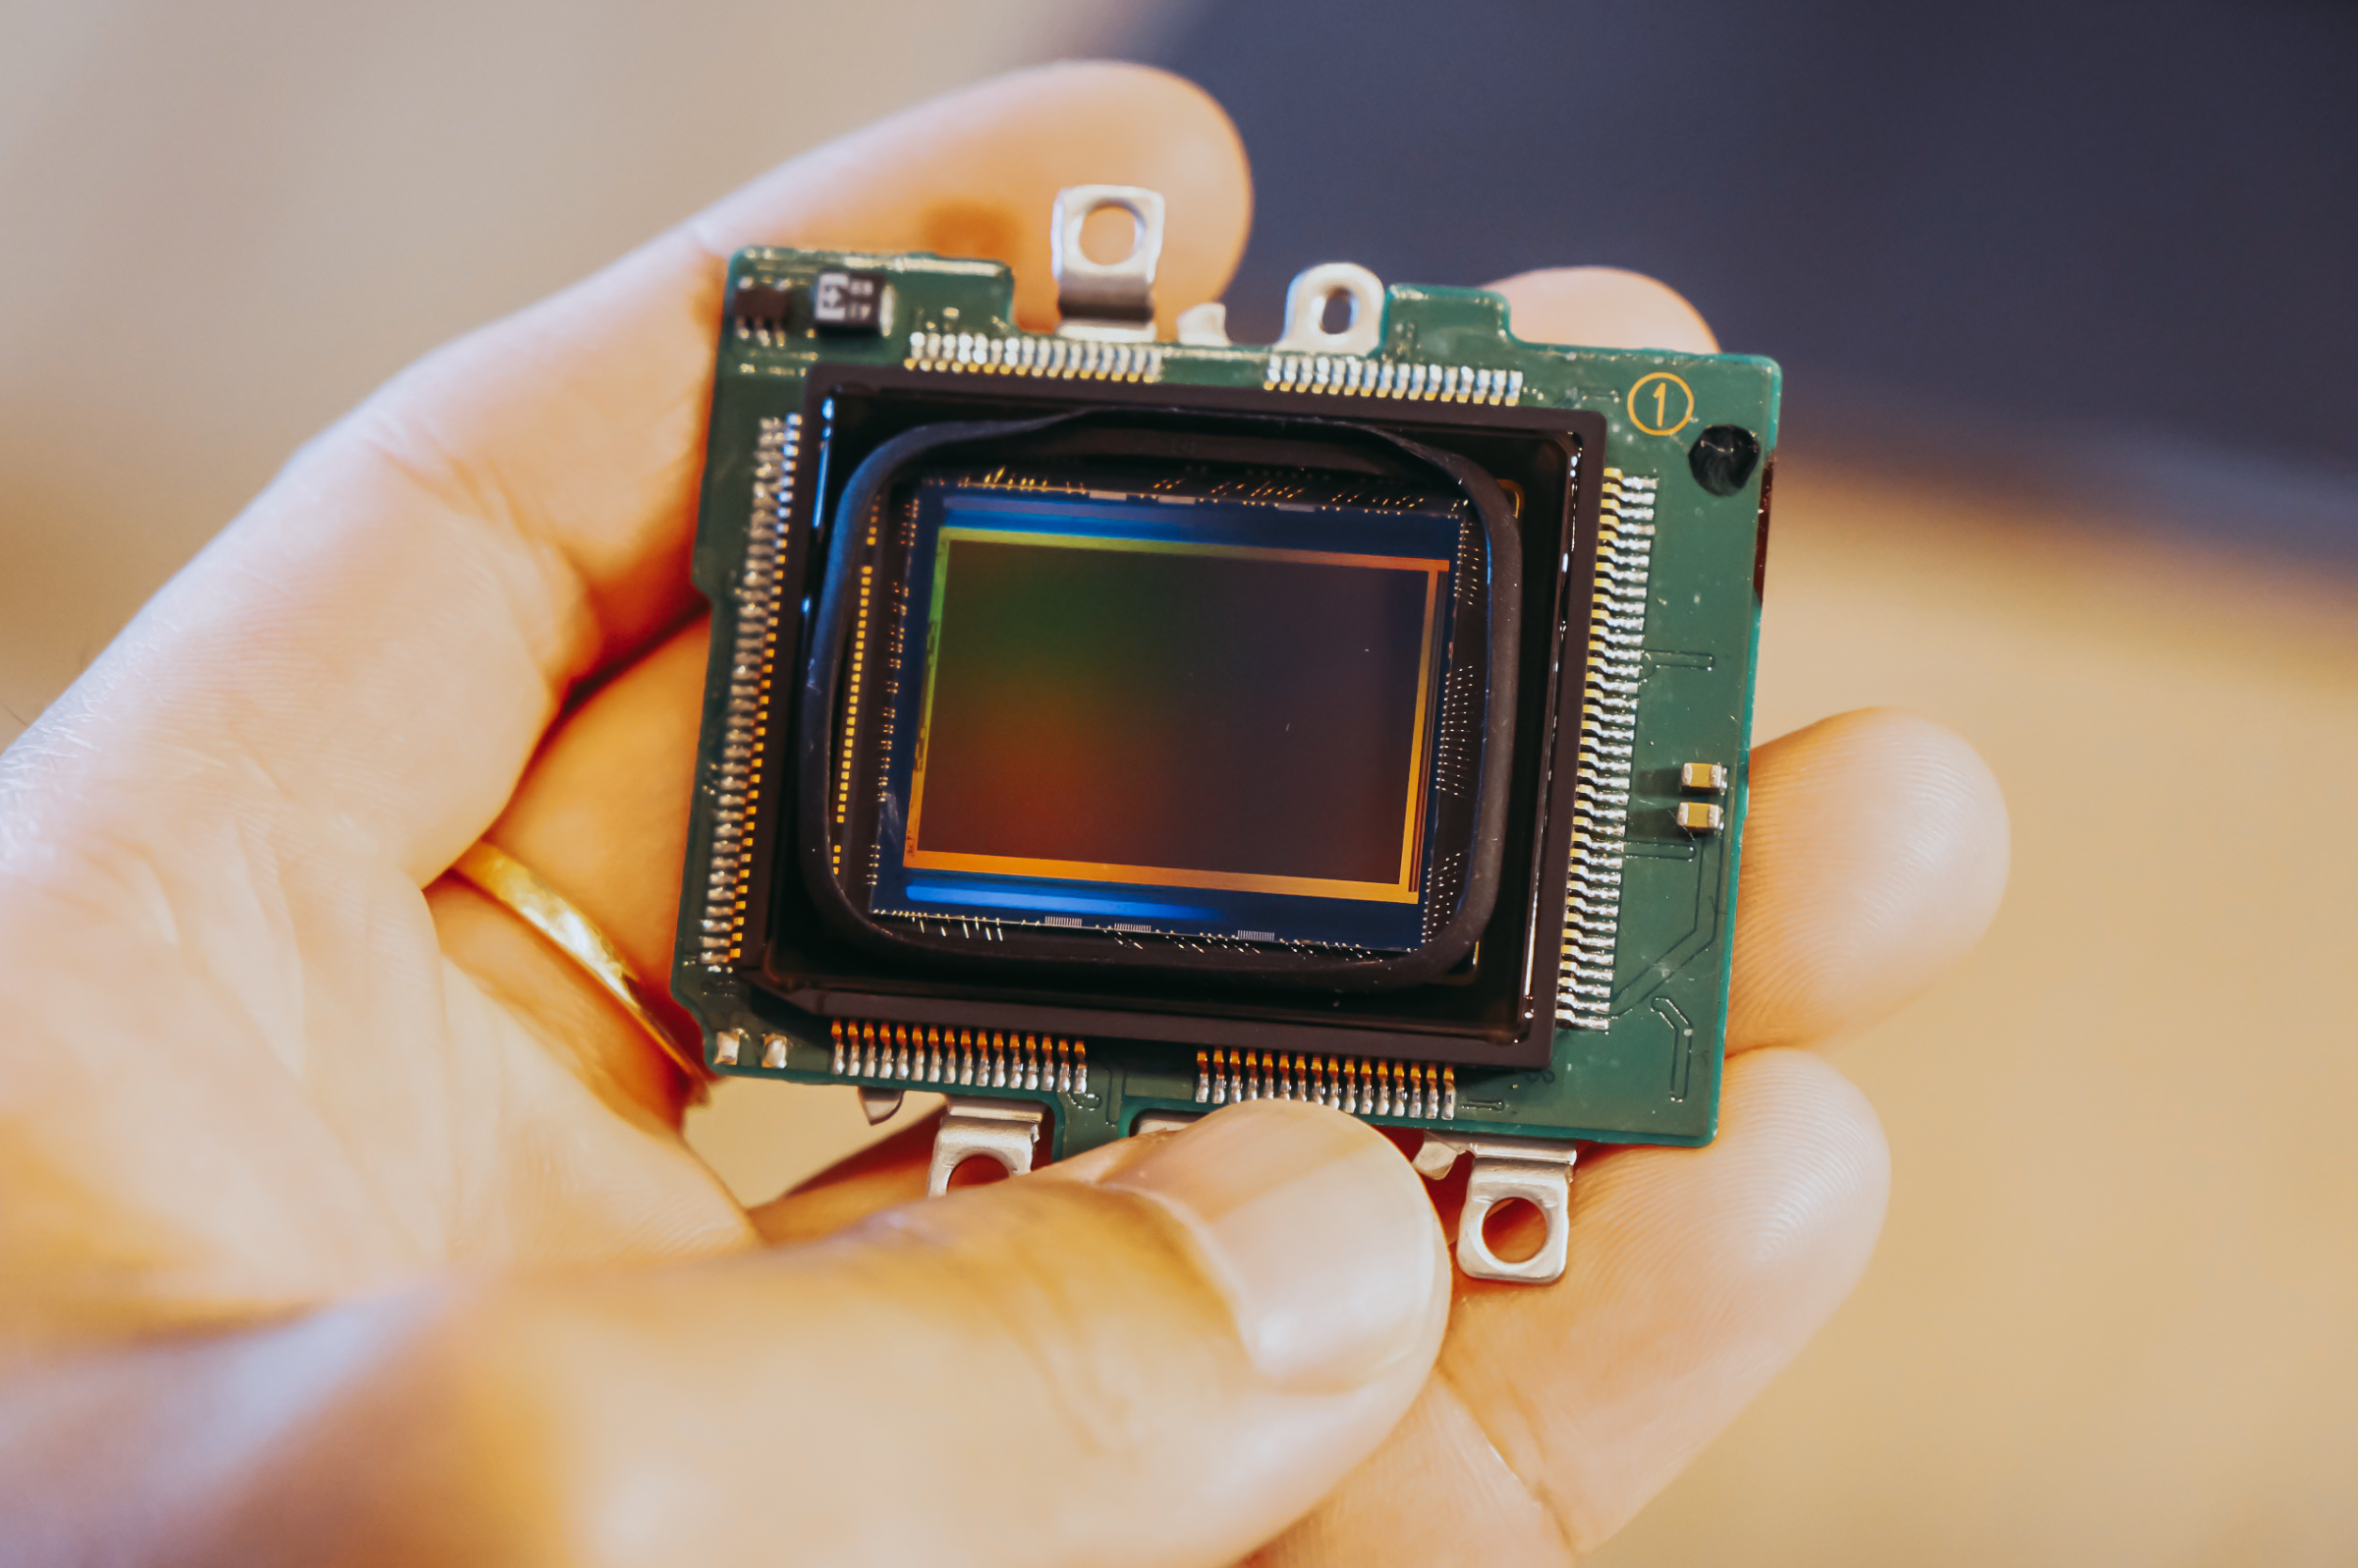
Among all the parts inside GR II, the CMOS sensor board is my fav one. I appreciate how much effort Ricoh’s engineers put into this compact body while maintaining the elegancy and precision of it all.
Putting everything back together

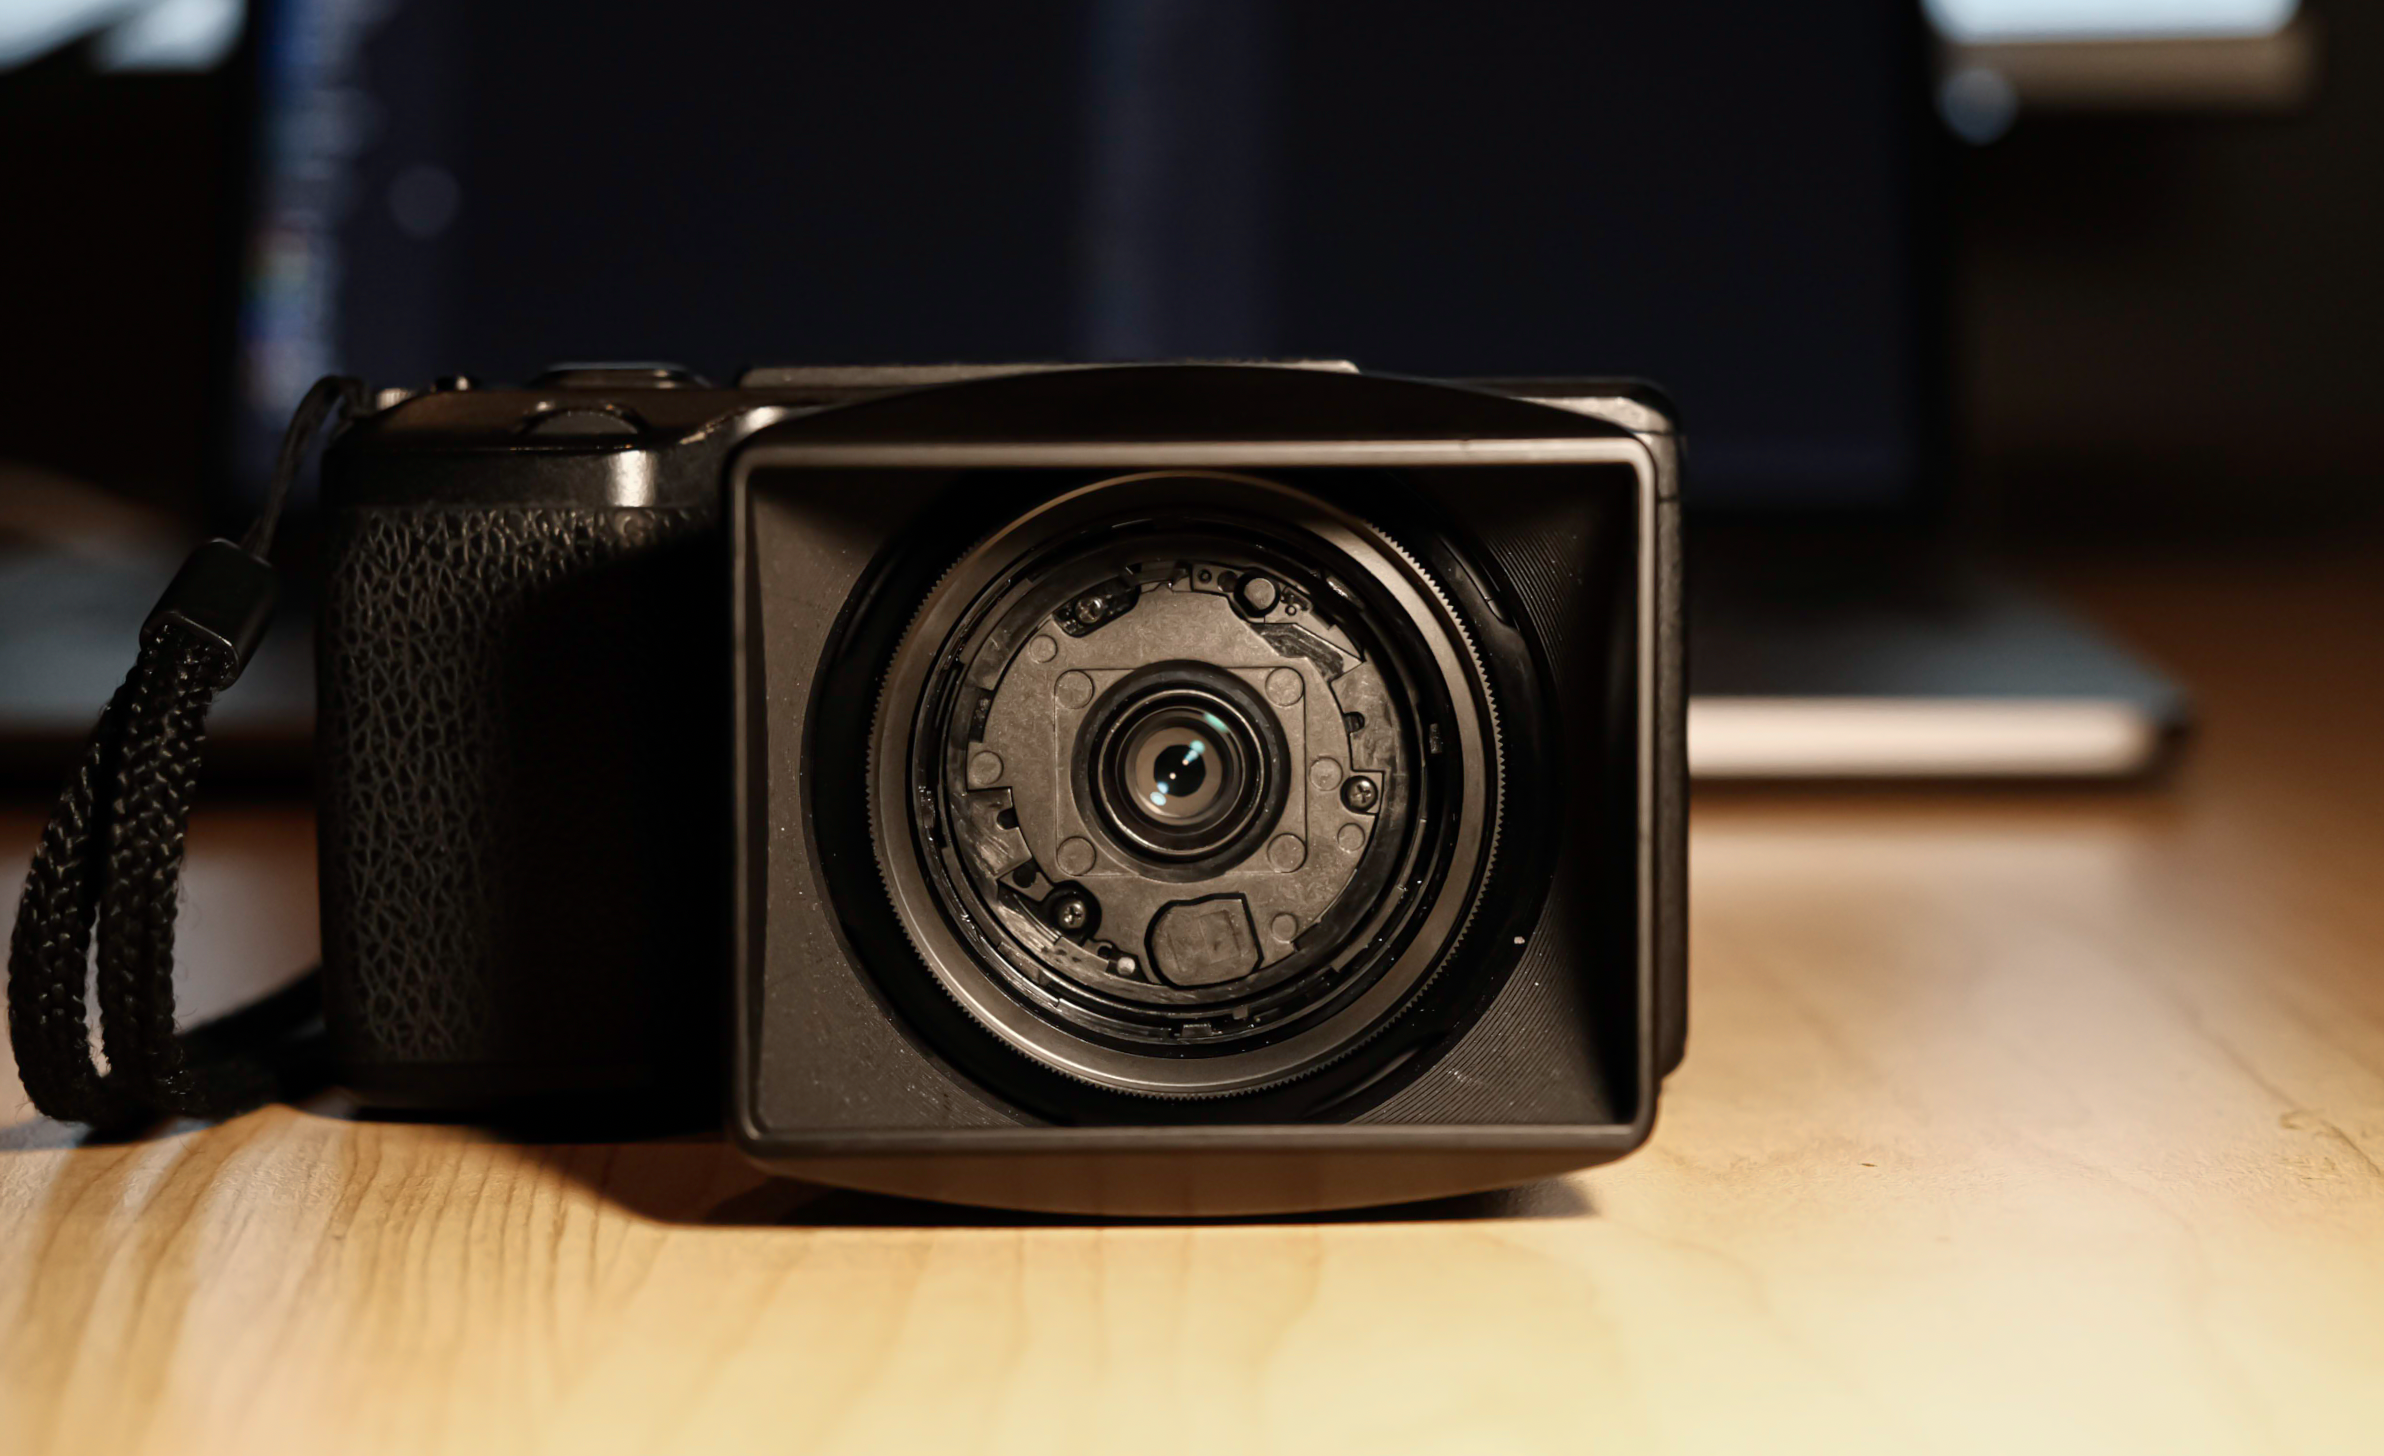
Because the front side of the lens module is broken, I could not add the front cap back. So instead, I installed the GH-3 lens hood and had the lens not exposed to the air. I call it, Ricoh GR II – Cyberpunk edition.